As part of our preparations for the trip and in our attempts to be as self-sufficient as possible, we decided to install a solar panel onto our caravan. This turned out to be a great idea not only because it gives us electricity when we cannot plug in anywhere, but we also discovered that it saves us about 4 EUR each night at campgrounds where electricity is usually a separate cost item.
But let's take a step back. Last year after buying the carvan and after some research, we bought a Complete 100 Watt Kit for Caravans from Amazon.
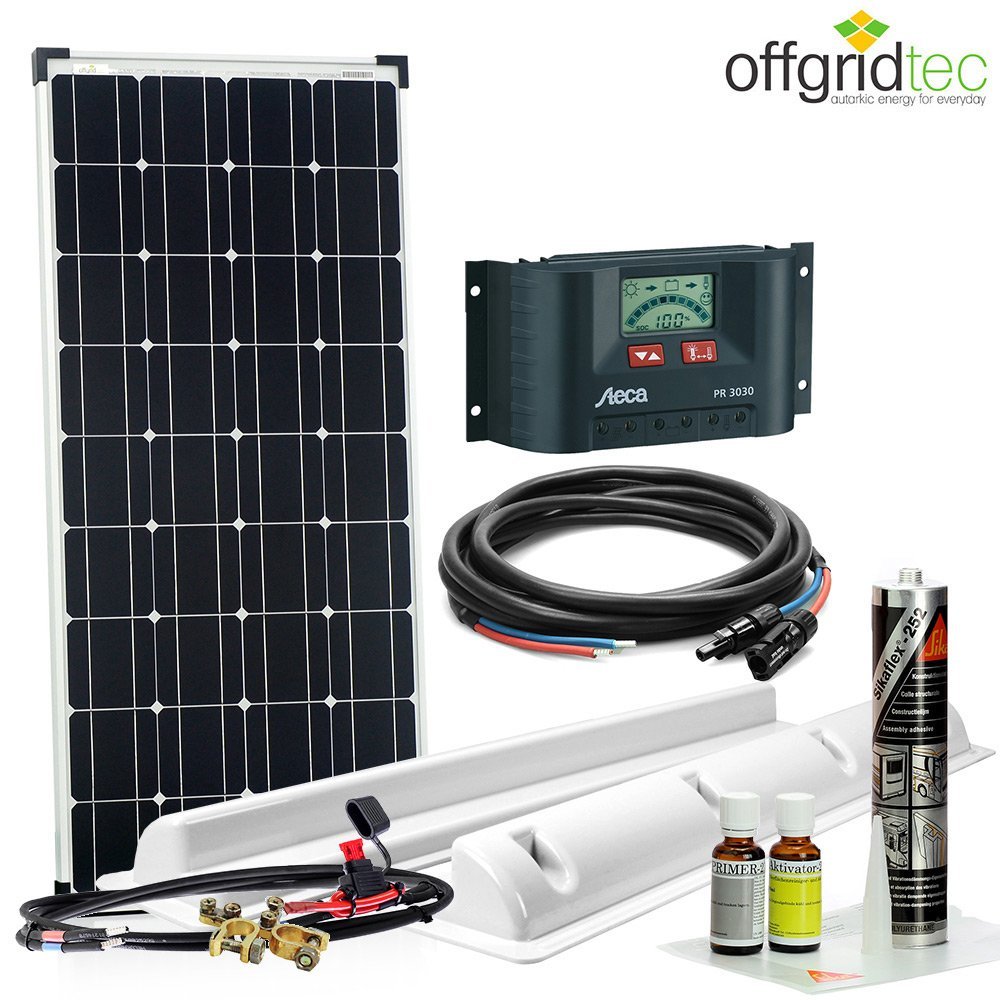
Apart from the solar panel, the kit included everything one needs to have for about 340 EUR. The only missing part is the battery which we bought separately from batterilagret. We settled for a 90 Ah battery for Bosch.
As always, coming as a novice to a new field, one quickly discovers that there is a whole world of things to consider when it comes to solar panels and batteries. Did you, for example, know that batteries come in three basic types - wet, gel and AGM batteries, each with its own pro and con? Things are not getting less faceted when it comes to the type, size and installation of the solar panel.
At this point, it is time to send a big shout-out to Sebastian who wrote several articles on the CamperStyle site (in German). His articles were a great help for me, in particular, the articles about batteries and solar panel installation. The latter also gave me the tools to calculate the size of the solar panel to buy and how to install it.
Now, half one into our trip, we can already tell, that the solar panel was one of our best investments for the trip. If we are lucky and continue saving 4 EUR per night, the solar panel (and battery) will have amortized themselves after about 100 nights :-).
Usually, provided we get at least a few hour of sun during the day, the panel produces enough power for us to have light in the evening, electricity for the water pump and keep our phones, Wifi router, kids' DVD player and computers charged for one day. The computers are a bit tricky since we have two MacBook Pros from the 2014 series which come with their own set of problems when it comes to charging from a 12 Volt battery. More about this in a dedicated post. Also, we never run the fridge off the battery, since it empties the battery in only a few hours. A lesson we learned the hard way. Now we just run the fridge on gas which as far as I understand is more efficient anyways. And whenever the gas bottle is close to empty we just refill it ourselves.
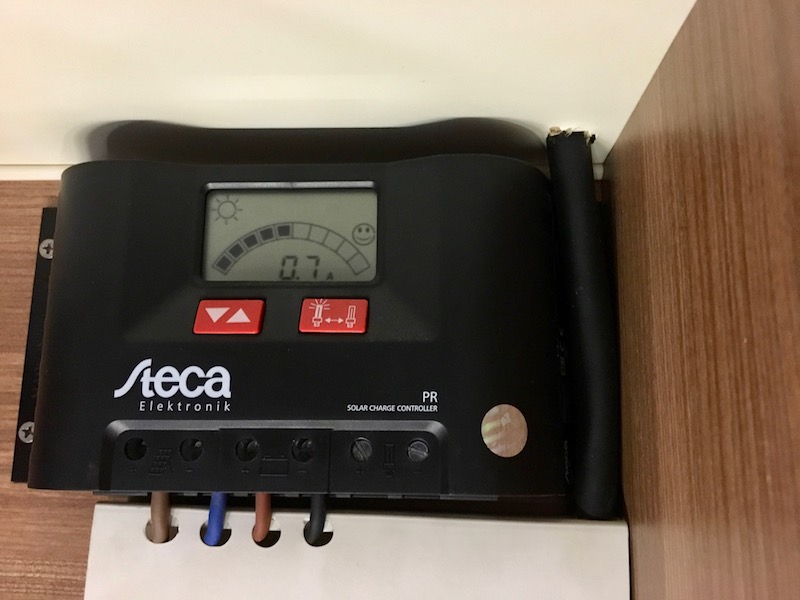
The one thing I cannot figure out is why I should not use the consumer output of my solar charge controller, a Steca PR 1514. Reading the manual of the controller, I at least got the impression that all consumer should be connected via this output, allowing to use the SOC (State of Charge) over the Voltage control mode for determining the electricity produced and stored. Also as far as I understand this consumer output has a built-in deep discharge protection which automatically disconnects all consumers if the battery voltage falls below a certain level. Still, I ended up with the wiring as seen in the picture above, not utilizing the load output of the controller at all.
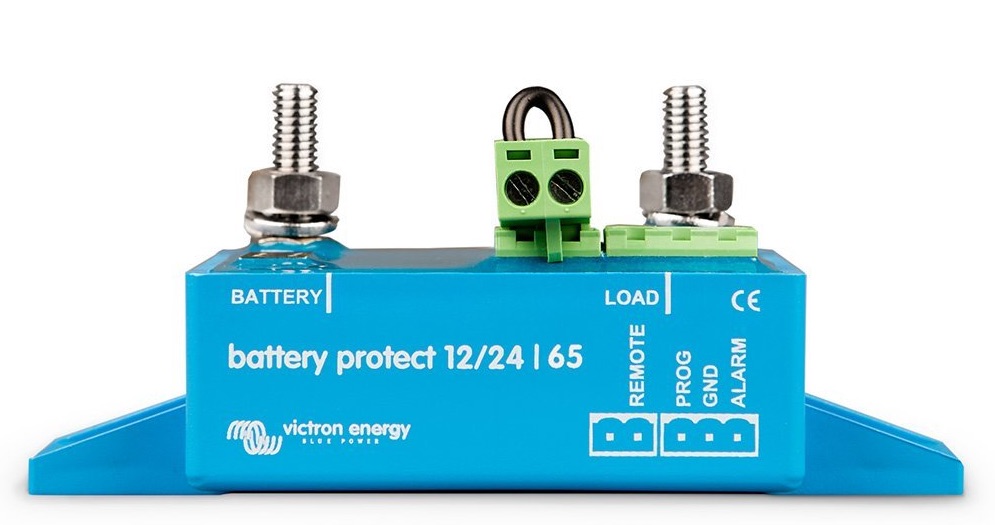
The reason for that is that two different sources, a motorhome mechanic in Alingsås, as well as a technician from Offgridtec (the seller of the kit), told me not to use this output. The latter even recommended me to by an additional battery protection, a Victron Battery Protect, to avoid deep discharge of the battery.
On top of this, the wiring in Sebastian's article does not seem to make use if this output either.
As far as I can tell all works fine with the current wiring, but in my opinion, it seems wrong and I feel I am missing out on some potential features of my charge controller. If anyone can shed some light on this, please leave a comment :-)
P.S. Another reasons I contacted Offgridtec, whose support was fast and to the point, was regarding the installation of the panel on the caravan roof. Per instructions, it just gets glued to the roof using Sikaflex. As a non-expert, this sounded a bit weak to me, especially since on some forums people talk about the whole panel flying off the roof while driving on the highway. Long story short, the people of Offgridtec recommend to glueing only. No need to use any additional screws, you just risk cracks in the spoiler and you increase the risk of water leaks.
So far we have gone 6000 km and everything seems to sit still rock solid.